Beginner Guide (Creating Menu: Group, Category, Item, and Modifier)
MenuDrive menus can be created in two ways.
- You can build your menu with a top-down strategy, starting with your menu and working down from there to categories, modifiers, and menu items. We call that a menu-first strategy.
- You can start with menu items and build upward by creating categories, menus, and modifiers as you go — an items-first strategy.
This article will demonstrate the menu-first strategy.
There are four steps to building your menu.
Step 1: Menu
Step 2: Menu Categories
Step 3: Modifiers
Step 4: Add Menu Items
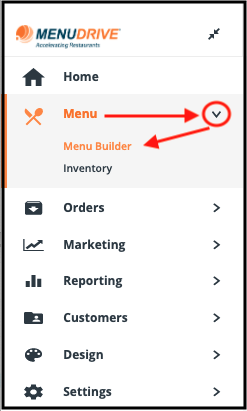
In the left-hand navigation of your MenuDrive Admin Control Panel (ACP), open the Menu Builder by expanding Menu and clicking Menu Builder.
Step 1: Menu
The first step in a menu-first strategy is creating a menu. For this example, we will create a menu called Main Menu.
From the Menu/Overview tab, click Create Menu.

Type “Main Menu” for the menu name.
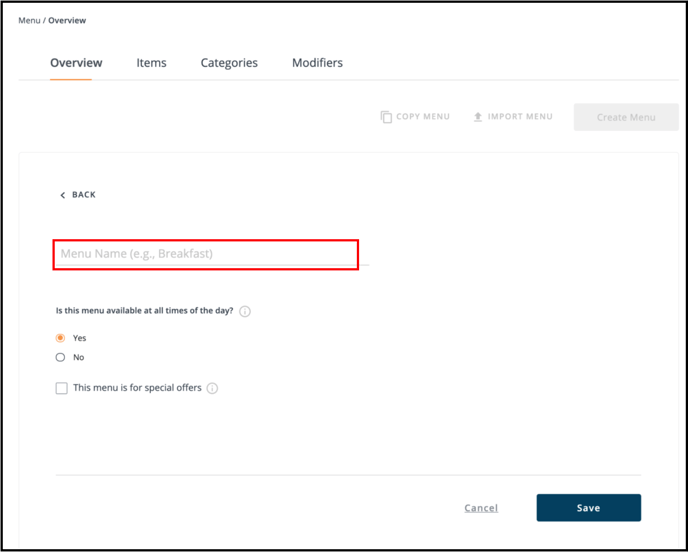
Select Yes under Is this menu available at all times of the day? to make the main menu available all day.
NOTE: Setting a menu to be available at all times of the day makes it available during the business hours you’ve set on the Location Hours page (under Settings). If business hours are not set, your customers will see a message that items from this menu are not available.
Click Save.
Check progress on your storefront at any time by clicking My Storefront.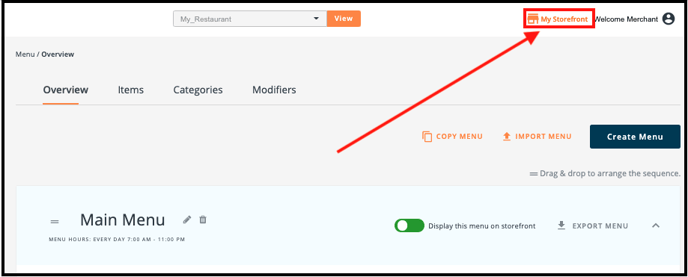
Storefront View:
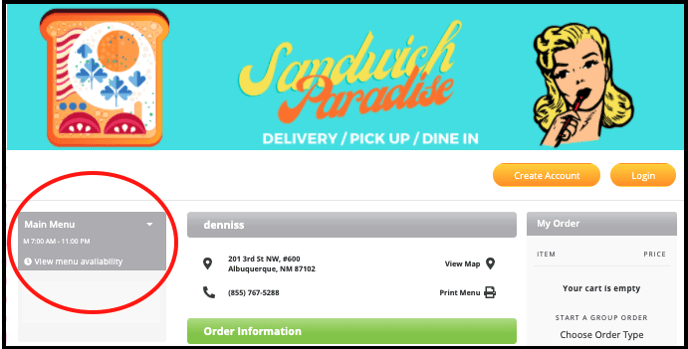
Main Menu on the storefront.
The next step is Menu Categories. Some people get menu categories confused with menu groups. Menu categories are more specific, such as "Sides," "Pizza," or "Beverages." These Categories will all go under the Menu "Main Menu." In this example, we’ll create a category for beverages.
Step 2: Menu Categories
Click Categories to open the Categories tab. Then click + Add Category. 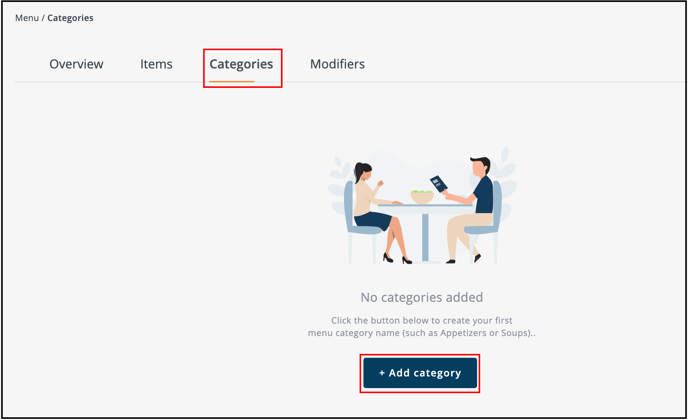
You can add your category here. Enter the category’s name, description, select the menu this category will be a part of, a number of sizes. If your category has multiple sizes, next you’ll enter size names separated by commas. You can also add photos to represent the category on your storefront.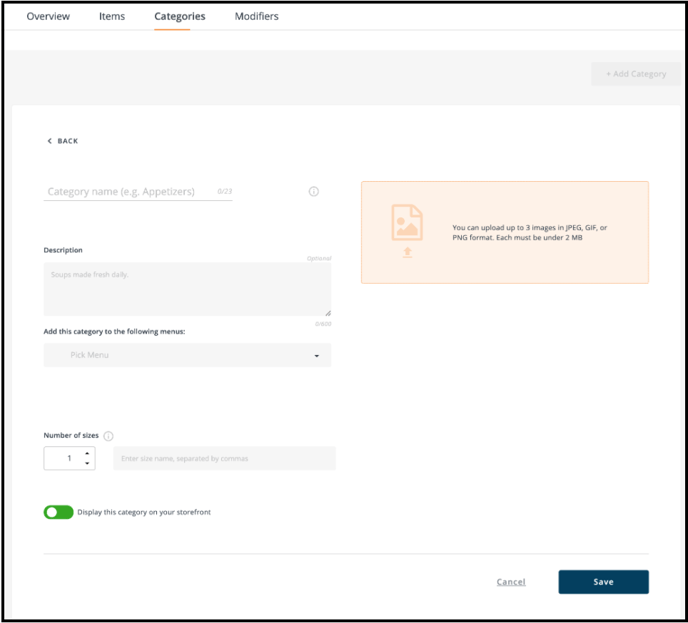
Note: Be sure that the toggle Display this category on your storefront is green, or the category will not appear on the storefront.
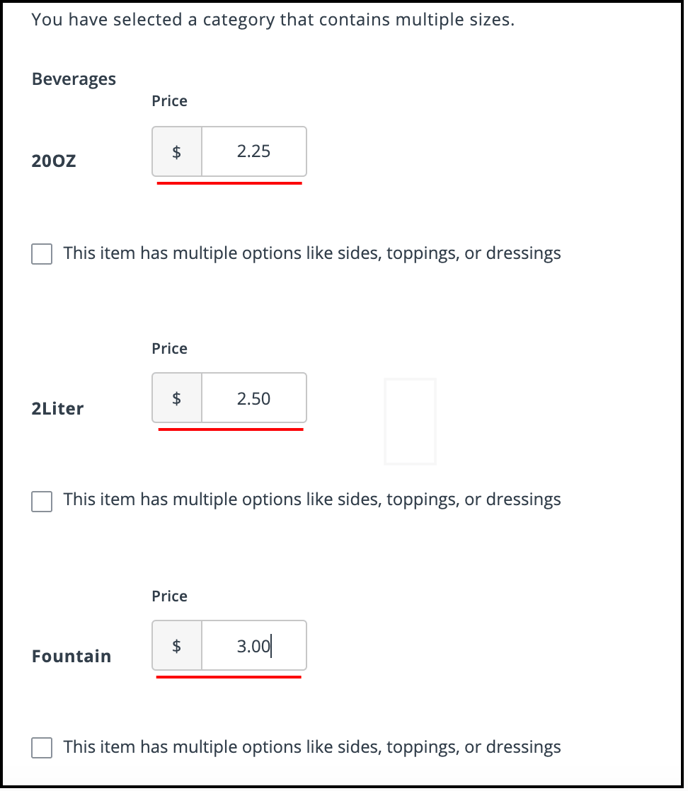
The beverages category will have three sizes.
First, type in the name of the category, “Beverages” for this example. Type a description that will make the category sound good to your customers. Select the menu this category will be part of.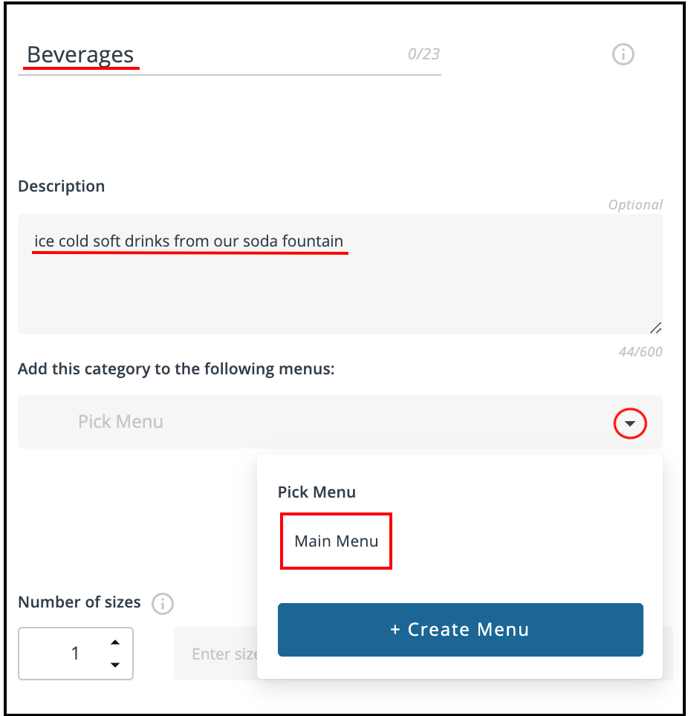
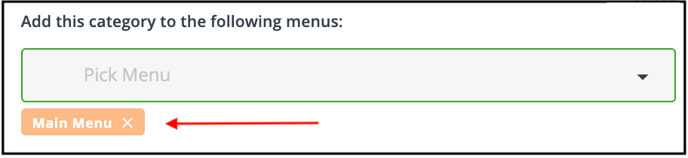
The chosen menu is shown in the dropdown list. You can choose other menus for this category to appear in also. For instance, the Beverages category could be on the Main Menu, the Late Night Menu, and the Lunch Menu. You could add this category to those menus when you create them later. As you choose menus for the category, they are displayed below the dropdown.
Note: pictures sell products - Click in the area highlighted below to upload up to three photos that represent the category. You might see an uptick in sales!
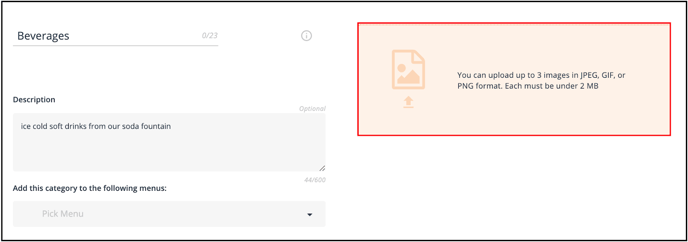
The default settings on the photo upload widget are set to browse your local hard drive for photos you have taken of food actually served by your restaurant. You can also upload photos from other sources like your restaurant’s Instagram account.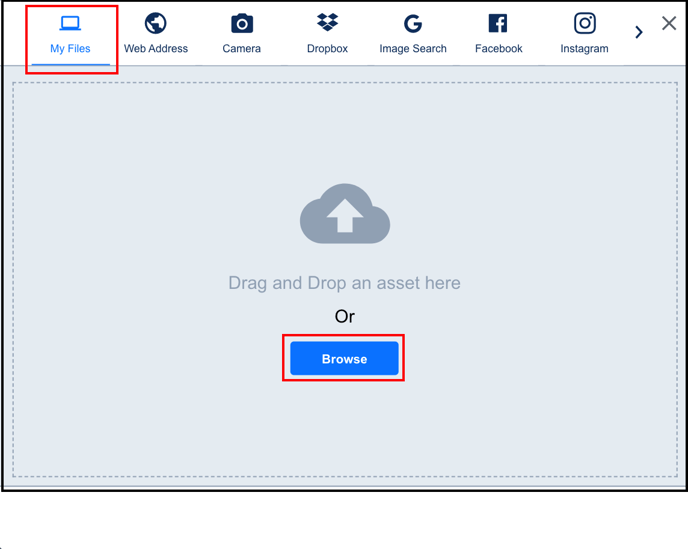
If you have more than one size you will need to enter the size names. You want to have a total of the size options in the entire category. For example for "BEVERAGES" if you have 20oz, 2Liter, and Fountain Soda. you would select 3 sizes. 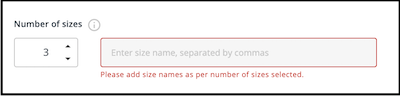
And type in the box with appropriate names, separated by commas.
Note: You will not be prompted to enter a size if you only have 1 size
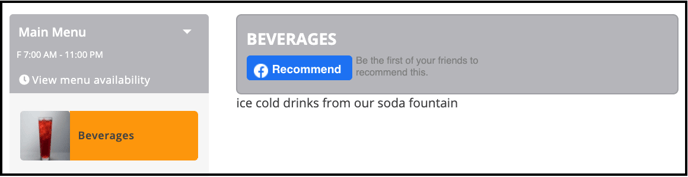
After clicking Save and My Storefront at the top of the ACP, you’ll be able to see that the category has been added to the Main Menu. Click on Beverages to see the description.
The next step is adding options. For this example, the modifier will be ice options for our beverages category.
Step 3: Modifiers
What is a modifier? It is any choice you want to give your customer or a selection they have to make.
Click on Modifiers to open the Modifiers tab.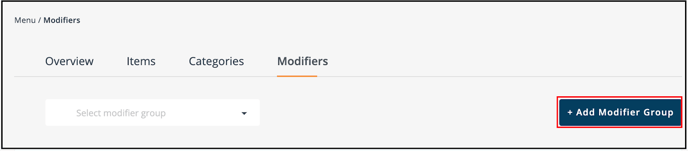
Click on + Add Modifier Group to create a new modifier group.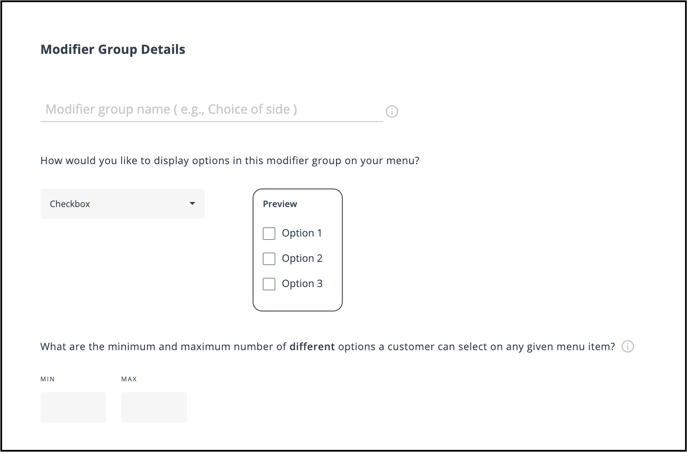
Type in the modifier group’s name.
Choose the type of Modifier you want based on the customer's options.
Checkbox: This is the most common Modifier type used. You can create a minimum and maximum option. For example, if the minimum is 0 and the maximum is 2 it means the customer can choose up to two options in the Modifier group but they are not forced to select the option. In this example, there will have a modifier called "Add Dipping Dressings". This will be an optional Modifier so the minimum will be 0 and the maximum will also be 0, meaning they can choose as many as they would like.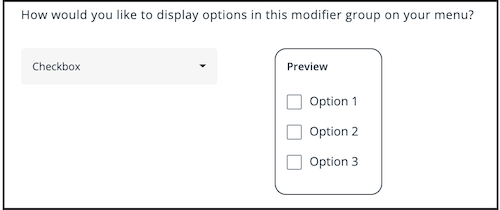
Radio Button: This option is a minimum and a maximum of 1. This means they must choose an option to proceed and they can only choose 1 option. 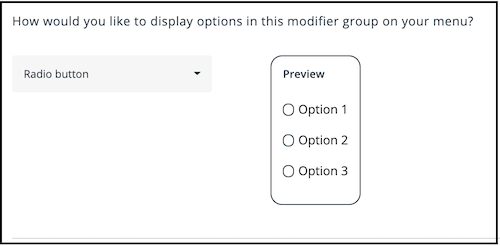
Dropdown: This is like a radio button but it is a dropbox option instead of a radio button.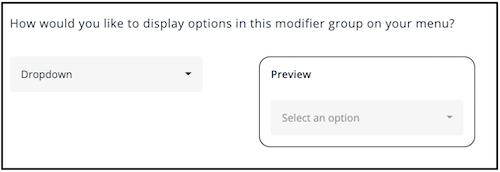
Quantity Signs: This is used if you would like to offer customers the ability to choose how much of an option they’d like to have. For example, with "Choose up to 10 choices, the minimum would be 0, and the maximum would be 10. The total number of modifiers, Customers can select up to __ units for each option, is how many a customer can choose of the same option. 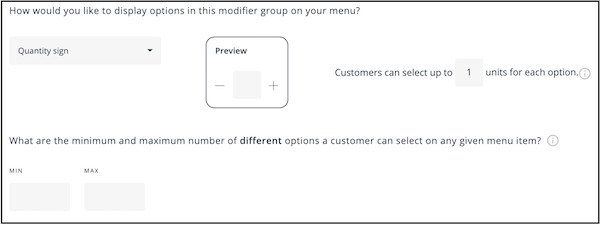
Half Topping Matrix: This is most often used for a Pizza Matrix. It will have a choice for "1st Half, Whole, 2nd Half. Extra is optional. For example, if you have pizza toppings a customer may want to choose if Pepperoni is on the 1st half.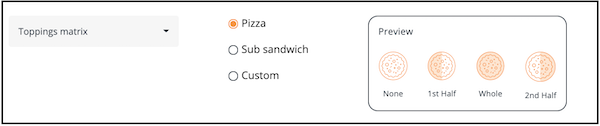
This is also good for sub sandwiches.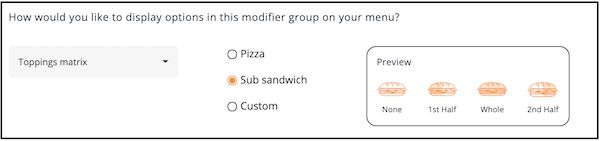
Custom Topping Matrix: This option is like the Pizza Matrix but you add your own labels. It is especially good for salads, ice cream sundaes, or anywhere you want to offer none, lite, regular, and extra for toppings.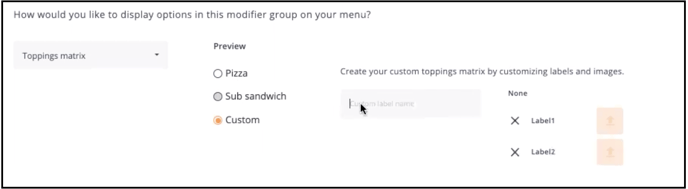
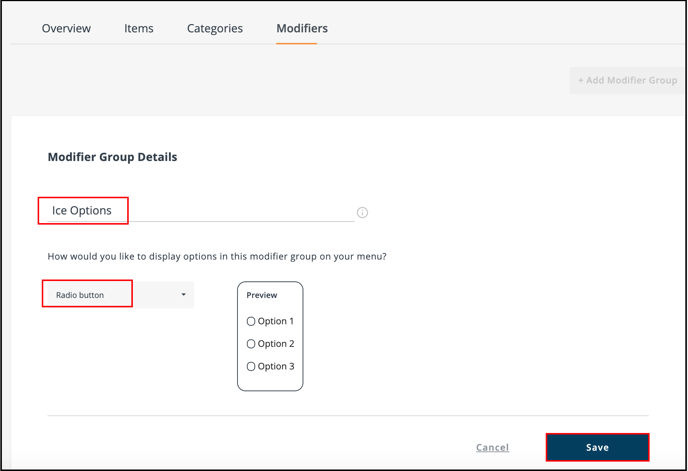
The modifier group for the Beverages example is going to be Ice Options. It will be a radio button, since only one choice can be selected, and the customer has to choose one. This modifier group will have three options: extra ice, no ice, and regular ice.
Type in the modifier group’s name and select the “radio button” below How would you like to display options in this modifier group on your menu?
After clicking Save, the modifier group will be displayed on the Modifiers tab.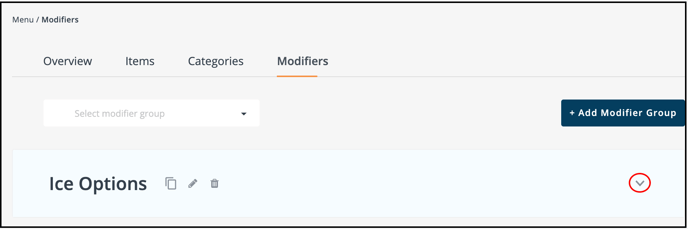
Click the expansion icon to see the + Add Options button.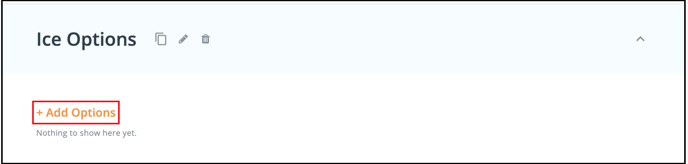
Click + Add Options.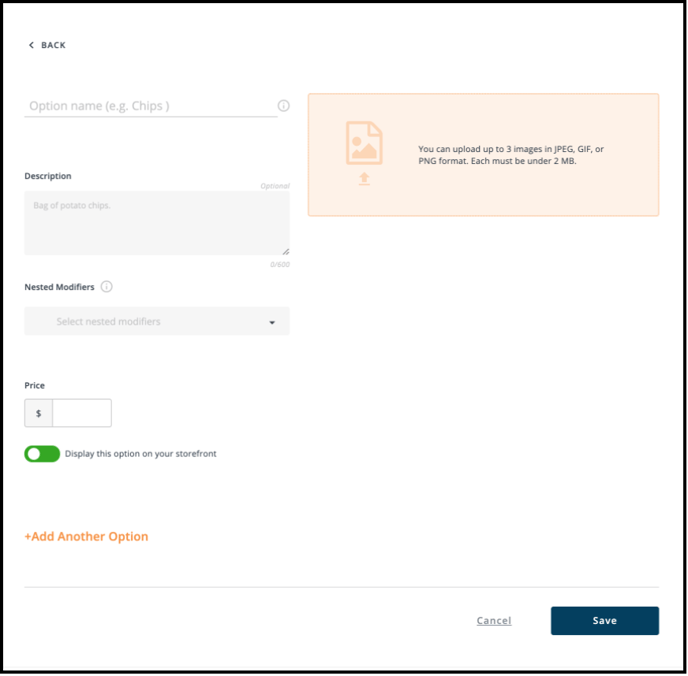
Type in the name, description, and price (enter zero if there is no added price for this option). Toggle Display this option on your storefront to green, add up to three images and click +Add Another Option to add the next option. You can add all options to a modifier group from this screen.
After adding all of your modifier group’s options, click Save. In our example, we’re adding three options: no ice, extra ice, and regular ice. After clicking save, on the Menu Builder Categories tab, we can see the three options in the Ice Options category.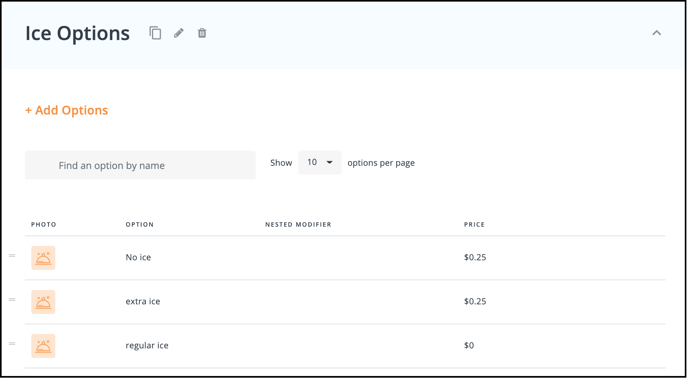
Step 4: Add Menu Items
Click Items to open the Items tab of the Menu Builder page.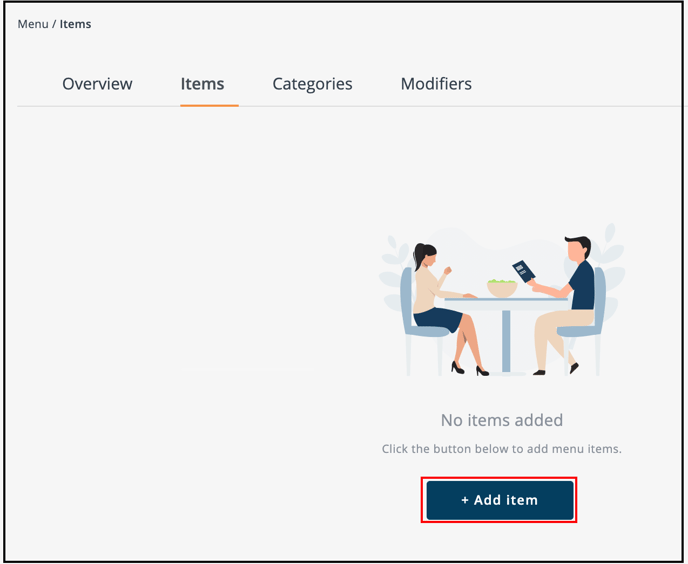
Click + Add Item.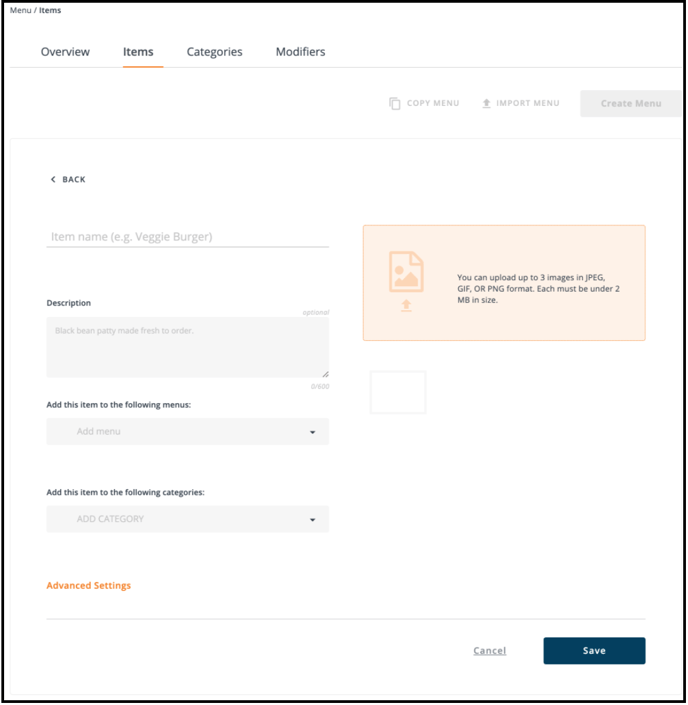
Now enter the Item name and description. Select the menu and category the item belongs to.
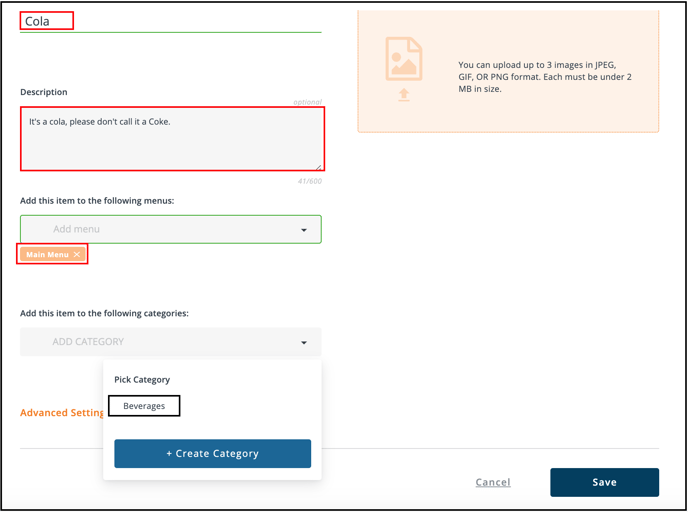
Note: Pictures sell products. Click the orange box to upload up to three photos of your menu item. Instructions for uploading photos are in the Categories section of this article.
There are advanced settings available, but they’re not needed for this item.
Now check This item has multiple options like sides, toppings, or dressings.
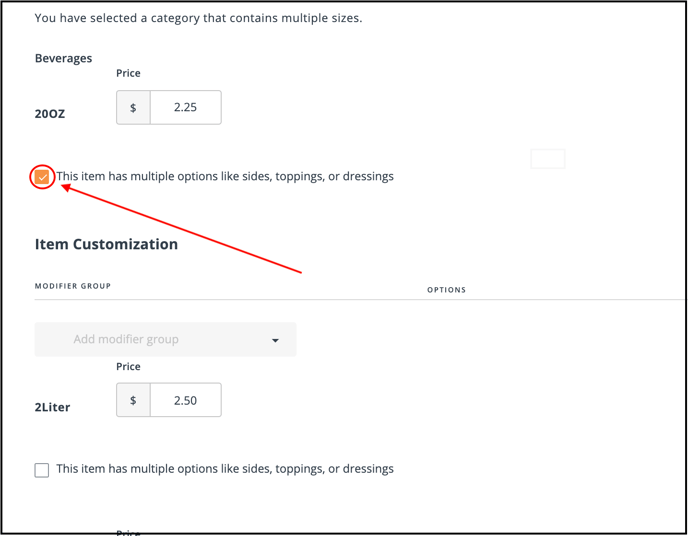
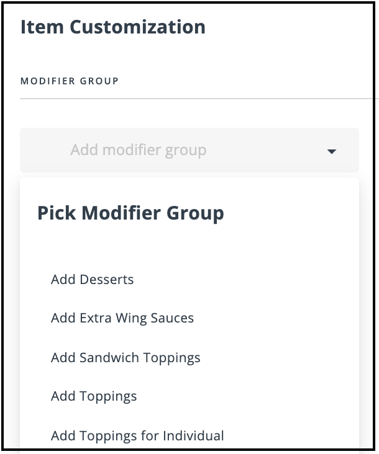
Select the modifier group from the dropdown menu.
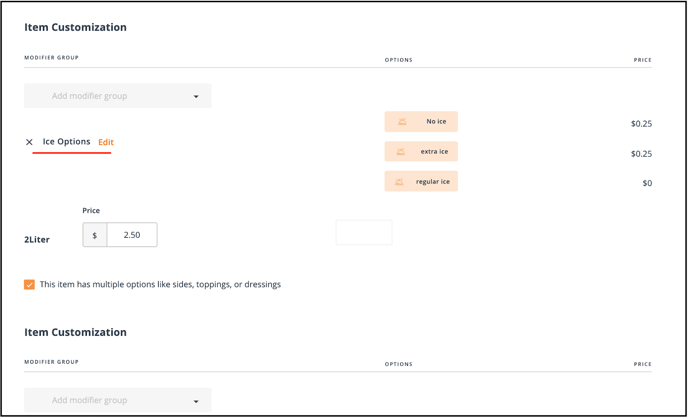
Scroll down to add the ice option to all three sizes.
Click Save.
After clicking Save, and My Storefront at the top of the ACP, click the Beverages category on your storefront. You can see that the item has been added to the Main Menu. Customers can add this item to their order.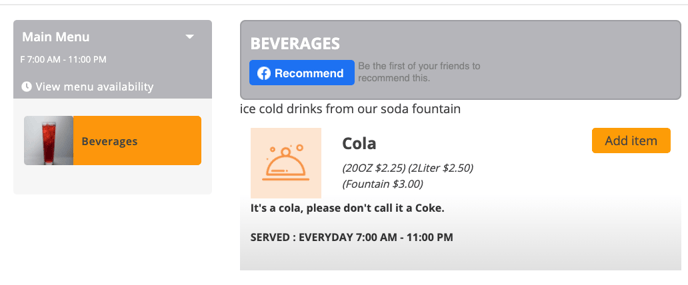
And they can select an ice option.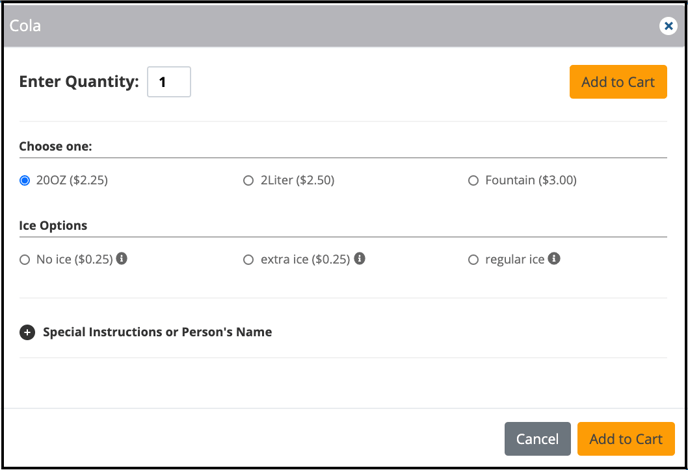
One 20OZ Cola has been added to the cart.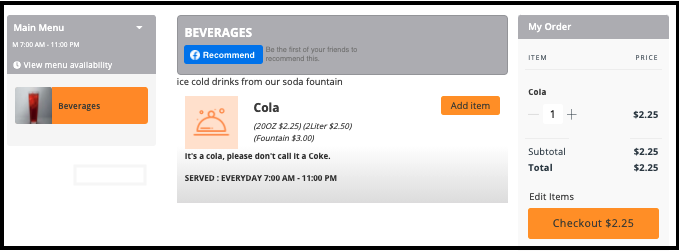
You can easily repeat Step 4 to add more items to the category and check on your storefront.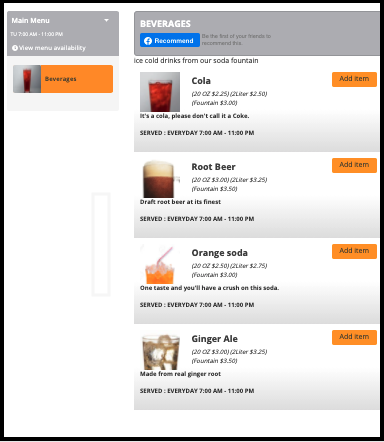
For any further support, please reach out to our 24/7 customer support team at 505-535-5288 or email support@lavu.com.