Creating a printer profile for your Epson KDS device is how Lavu is going to know which screen to send items and orders to. The process for doing this is very simple.
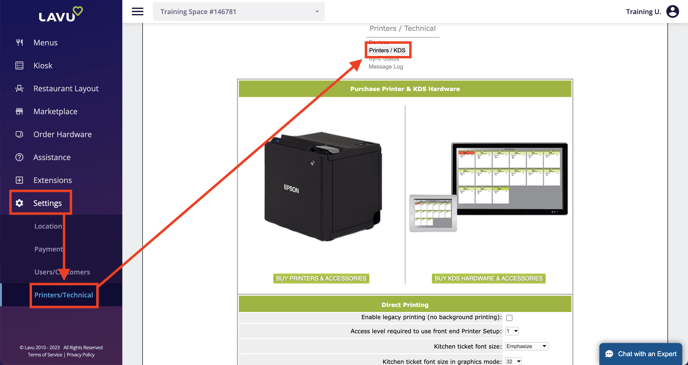
Start by logging into your Lavu Control Panel (cp.poslavu.com). Then click on Settings on the left, then select Printer/Technical beneath it. Finally, click on Printers/KDS at the top of the screen.
Scroll down to the Printers/KDS section, and click Add New to start creating a new printer profile.

- Select a kitchen setting from the first dropdown (make sure it isn't a number already in use).
- Give your profile a name.
- Enter the IP address of your Epson KDS device (click here to learn how to find your IP address if you don't already know it).
- Enter 9100 next to Port
- Select Epson next to Printer Type
- Select Epson Thermal next to Command Set
- Select TM-T88V next to Model
- Enable the setting Epson KDS. This will set other settings in the profile to specific numbers that cannot be altered.
The rest of the settings can be left at their default values. Click Save to finish creating your profile.
Your last step will be to assign this display to your menu categories in your Lavu menu. This will tell the POS which specific display should receive which specific items. This works the exact same way as traditional kitchen printers.
Simply select your display from the dropdown in either the category settings, or the item's settings through the green Details button on the right.

Don't forget to click Save on your menu, and then reload settings on your POS to start using your KDS display.
For further support, please contact our 24/7 customer support team at 505-535-5288 or email support@lavu.com.