Your LiP-Canada setup is heavily dependent on your business workflow. We do have a number of recommendations to make this a smoother process for you.
Printing Receipts
There are three types of receipts that you may want to print:
- Itemized Checks
- Merchant Receipt
- Customer Receipt
The itemized checks must be printed through the Lavu POS on an integrated printer. The Merchant and Customer Receipts can be printed either through Lavu or through the iCT250.
Printing Itemized Checks
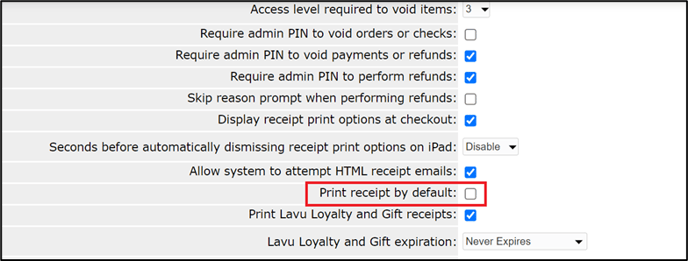
Use the Print Check button in the app to print an itemized receipt for the customer during the checkout process.You can also choose to have the option to print the itemized as a pop-up at the end of the checkout process.
You can speed up your checkout process by turning off the pop-up and printing itemized checks by default. Use the following instructions for that setup.
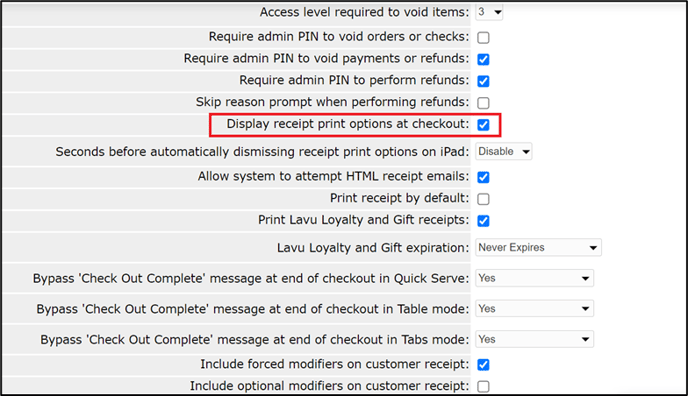
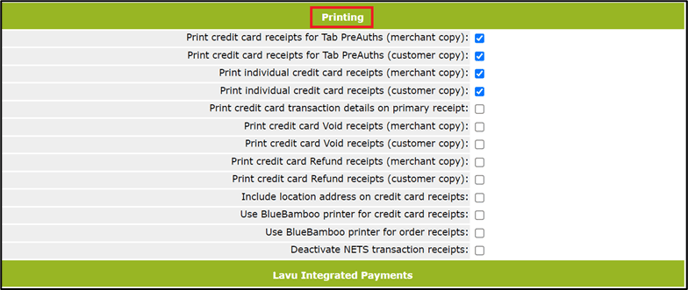
Printing Merchant/Customer Copies
We recommend that you use EITHER the printing features through the iCT250 terminal OR print these receipts using your Lavu printer. You will need to turn off receipts in one and turn them on in the other. See the instructions below in order to complete this process.
Adjusting Printer Settings for the iCT250
Follow the below steps to adjust the printer settings.
|
Adjusting Lavu Receipt Printing Settings
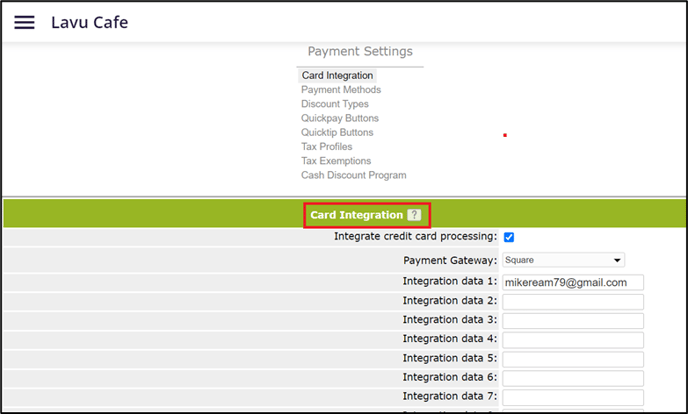
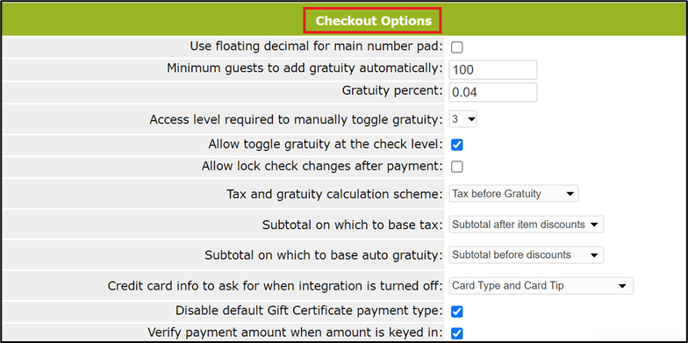
Payment Settings
There are a few payment settings that can be adjusted to streamline your workflow. LiP transactions are initiated using the CREDIT button at checkout. The Lavu Payments Specialist who sets pairs or, onboards, your terminal with Lavu will change the Payment setting name to ‘Credit’ from its default status for you. This setting is located in Settings > Payment Settings > Payment Methods.
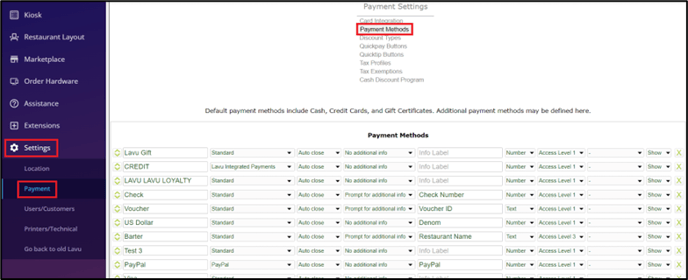
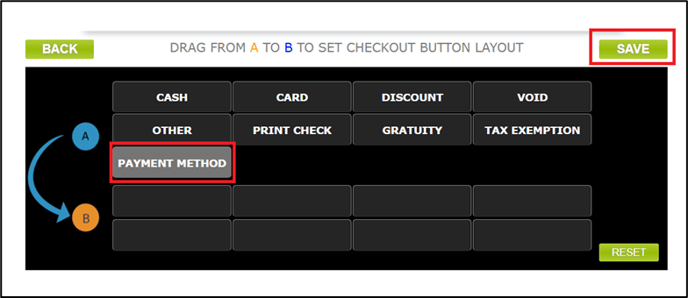
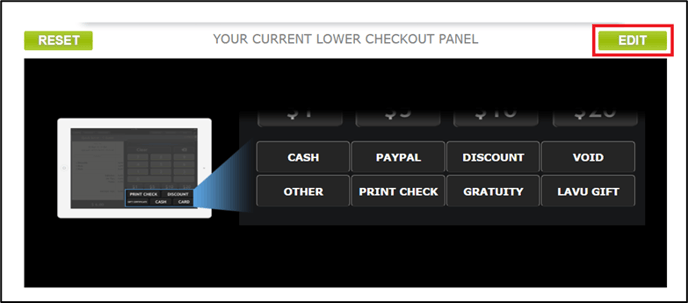
You should take a few moments to remove the default CARD button from your checkout screen and add in the new CREDIT button (otherwise, it is still accessible but nested in the OTHER button, requiring additional taps).
FIRST
Click SAVE