Super Groups help you to report on larger groupings of items by putting them into larger category buckets. The Super Groups report will automatically segment your sales report based on the Super Groups you have set up in your menu.
Below are the steps to help you create Super Groups in the Lavu Control Panel (cp.poslavu.com)
Click on the Menus on the left-hand side, and select Super Groups.
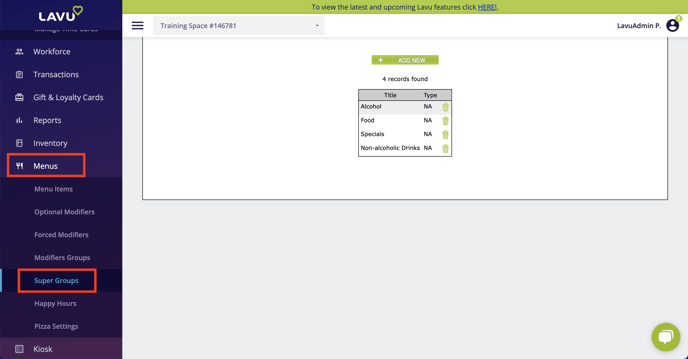
Here you will be able to create new super groups to use in your menu. In this example, a handful of super groups have already been created. If you have not yet created any super groups, then your list will be blank.
Click on the Add New button to create a new Super Group. Give the group a name, select a type if you wish to track Food & Liquor costs, and click Submit to save your changes.
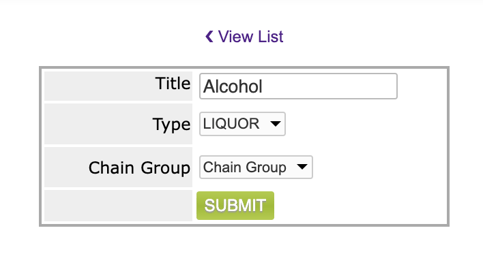
Note: Chain Group is only relevant if you own multiple restaurants connected within Lavu.
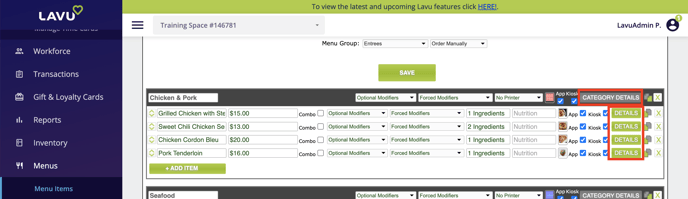
Super Groups can be assigned to categories or particular menu items. Click on the green Details button next to the menu item, or the gray Category Details button to assign the Super Group.
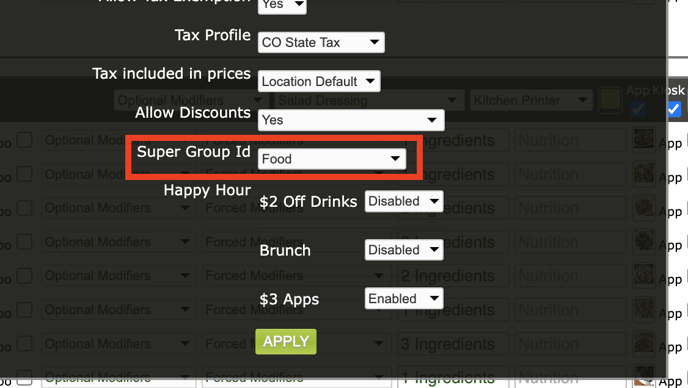
Scroll down and select the Super Group from the Super Group ID dropdown. Don’t forget to click on Apply and then save your menu changes.
When sales are made, you can now view sales by Super Group from the Sales & Payments reports. Once in the Sales report, as shown below, click on the Super Groups filter.
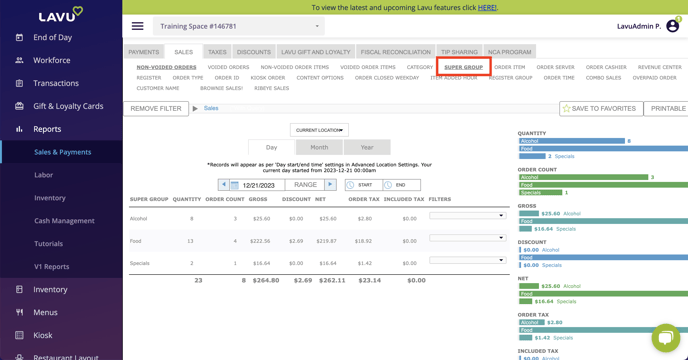
Note: If items or categories are not assigned to a supergroup, that will be shown under No Super Group in the report.