Manage Users
How to use Manage Users section in Control Panel
Manage Users
The Manage Users page allows you to create employee profiles for your staff that use the POS application. You will set usernames and passwords, PINs for clocking in and out, Access Levels, pay rates, job roles, and more.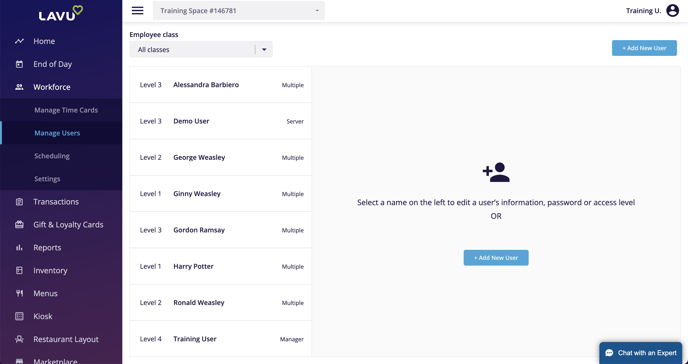
A list of all of your current employees will be displayed on the left. You can filter through this list by using the Employee Classes dropdown in the top left corner. If you want to edit an existing employee's profile, simply click on their name.
If you want add a new employee, click the blue Add New User button in either the center, or in the top right corner.
If an employee profile is ever deleted, you will need to contact customer support if you want to recover it.
Creating a New User
Creating a new user is divided up into several sections. Not all are required, but from the optional sections, we highly recommend assigning a pay rate and a job role(s) to your new employee. This will make tracking pay and managing time cards much easier.User Information
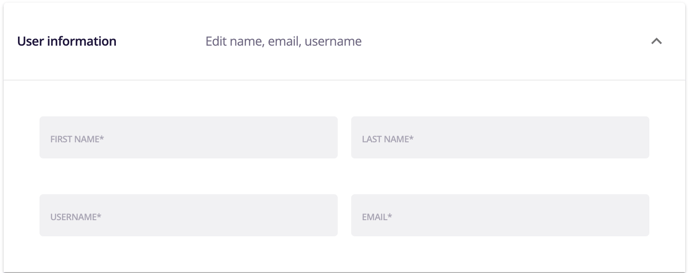
Here you must enter your new employee's name, their email address, as well as provide a username. Not all employees will use their username, but they all must have one.Note: Usernames in Lavu must be "globally unique". Meaning that no two employee profiles in the entire Lavu system can have the same two usernames. We recommend using your restaurant's name somewhere in the username to help make them unique.
PIN & Password
The PIN for an employee is incredibly important. This is the number they will enter for clocking in and out, and signing into the application. For your managers, their PIN is how they can open the cash drawer, approve refunds and discounts, access Management Tools, and more.There is no requirement for the PIN, other than it must numeric. The only requirement for the password is that it is at least 8 characters long.
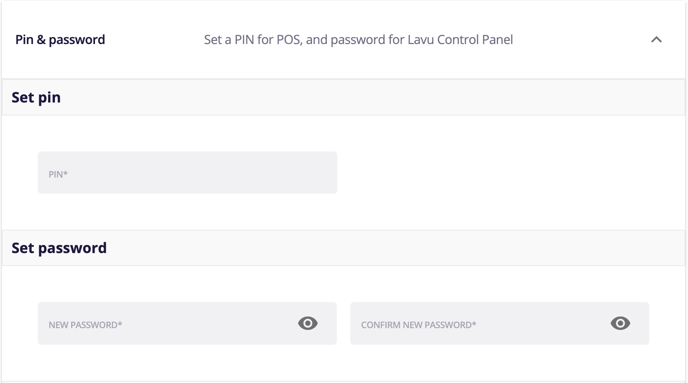
Note: For those using RFID equipment instead of PIN numbers, the card ID will be entered in this section (this is uncommon) The RFID setting must first be enabled in Advanced Location Settings.
Pay Rates & Roles
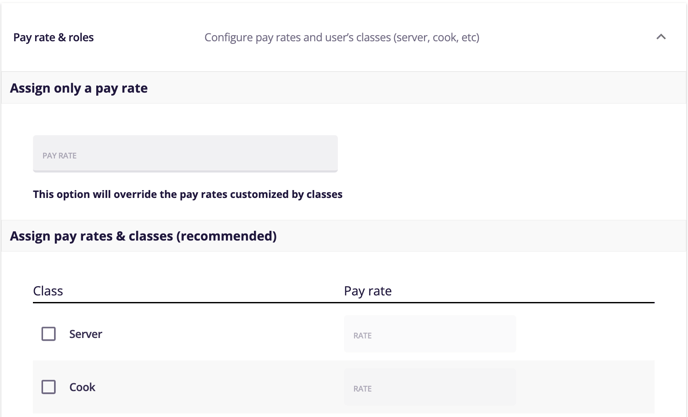
This section is optional but highly recommended. There are two ways you can assign pay rates to your employees.You can use the first pay rate box to assign only a pay rate. Use this if you are NOT using Employee Classes.
The second method uses your employee classes, and pays your employee differently depending on the job they do. It's very common in the United States for tipped employees to make a lower hourly rate than non tipped employees.
Click here to learn how to setup Employee Classes.
Manage Access
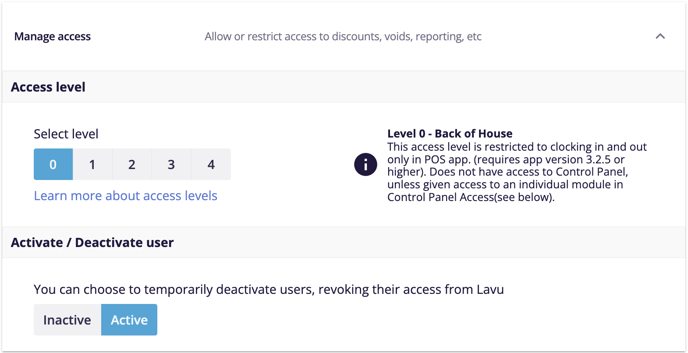
Here you will set the access level to your employee. You can click on each level to see a general description on what type of job roles typically receive which level. These are not hard rules you must follow, simply a recommendation.Note: Access Level 4 can only be set by another level 4 user. These are only available for locations with multiple restaurants connected in Lavu. Please reach out to customer support to connect your locations.
You will also notice that you can set your employee as Active or Inactive. This is helpful if you are located by a college and have employees who leave for the summer or school year, but you know will come back.
Contact Information
This section is completely optional and is not required for creating your employee's profile.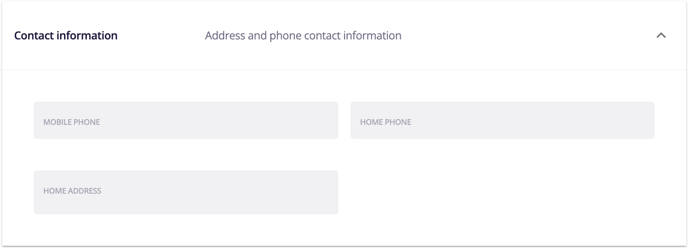
Advanced
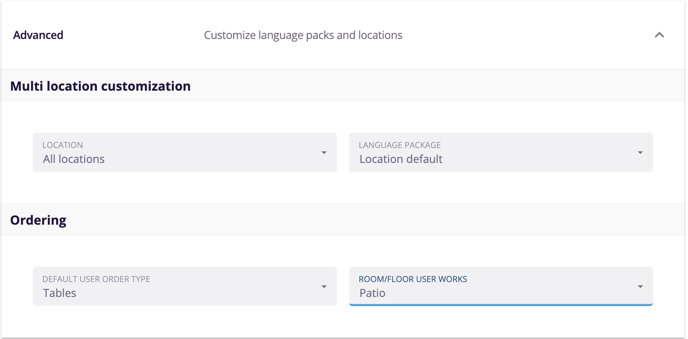
This section is completely optional and is not required for creating your employee's profile.You can use this section to set a specific service layout for your employees. This is helpful if your Servers need to see the Tables screen when they sign in, but your bar tenders need to see the Tabs screen when they sign in.
Custom
This section allows you to apply your own employee ID to use in reports. Lavu assigns an ID automatically. This is simply a way to assign your own ID. This is not required to complete your employee profile.
For any further support, please reach out to our 24/7 customer support team at 505-535-5288 or email support@lavu.com.