The Workforce Settings page is where you can create employee classes, set rules for overtime pay, control access to certain tools, and more. We recommend you start here before creating your employee profiles so you can setup job roles and tip sharing rules for your staff.
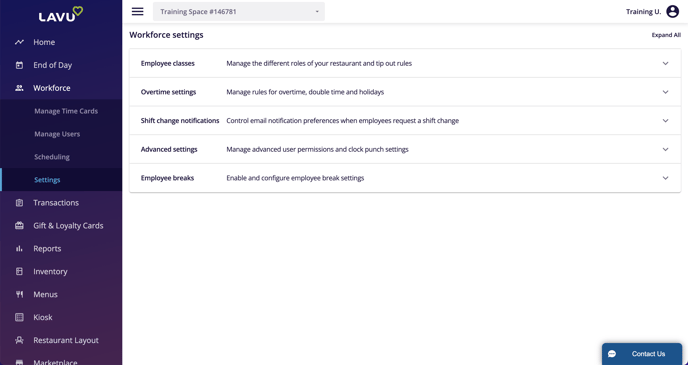
This page contains the following sections
- Employee Classes – Ability to add new employee classes and assign tip sharing and tip withholding rules.
- Overtime Settings – Control when and if overtime and double-time are paid.
- Shift Change Notifications – Use these settings to determine who, if anyone, is notified when an employee requests shift coverage through my.poslavu.com
- Advanced Settings – These settings help determine what actions different access levels can perform to increase your restaurant POS security.
- Employee Breaks – These settings help to verify the employee's paid breaks.
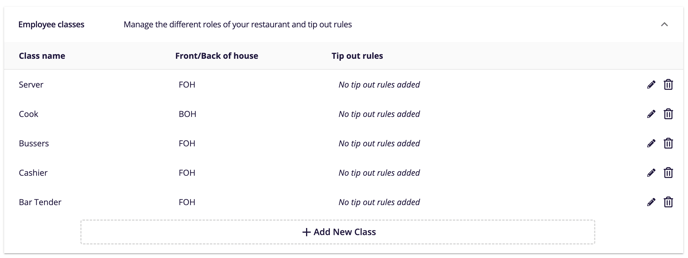
Employee Classes
The Employee classes page is where job roles can be created for your employee profiles. This is also the area where you can set up Tip Out, Tip Pooling, and Tip Withholding rules.Click on the pencil icon to the right to edit an existing Employee Class, or click Add New Class at the bottom to start creating a new class.
Add a New Class
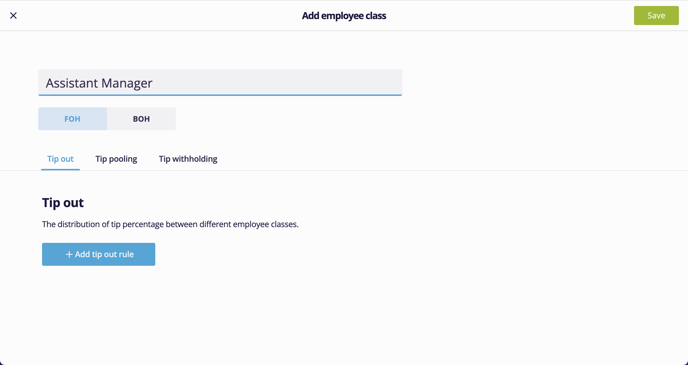
- Enter a class name that will serve as the job role/title (Server, Line Cook, etc.)
- Choose FOH or BOH (this will have no affect on your employee profiles or what they can access in the POS)
- Click Save
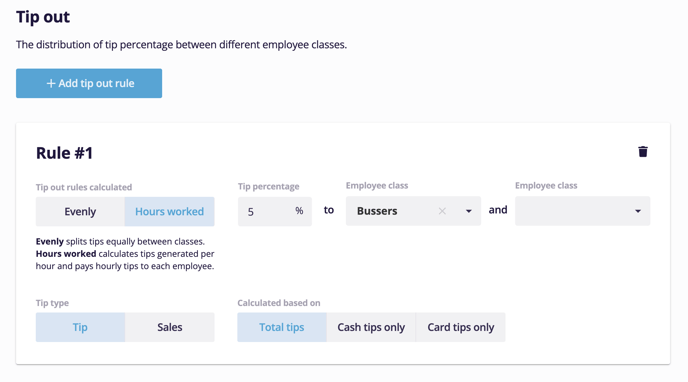
Tip Out Rules
Tip Out rules will require employees from one class to share tips with employees from other classes. A common example is to have your servers share their tips with your bussers.
- Open the Employee Class that will pay the tip out (the server class in my example)
- Click + Add tip out rule
- Select either Evenly or Hours worked (check the descriptions below each option to better understand what each does)
- Determine what percentage of the tips or sales will be tipped out and type that into the Tip percentage box
-
- If you select 1 employee class, that class will receive the entire percentage. If you select 2 employee classes, the percentage will be split between each class
-
- Example: 10 % can be tipped out to the cooks or 10% will be split between the cooks and the dishwashers
- Select at least 1 Employee class
- Decide what figure (Tips or Sales) will be used to calculate the tip out
-
- Tips: Can be set to Total tips, Cash tips only, or Card tips only
-
- Sales: Can be set to Total Sales or Super Group Sales (You will need to create super groups and assign them to menu categories in order for this to calculate.)
- Click Save
Now, you have a tip-out rule. You can add as many tip-out rules as you like to each employee class. The results of your employees' tip outs will appear on their Server Summary.
Other Tip Out Settings
You will also need to address two other settings in order for tip-outs to function properly.
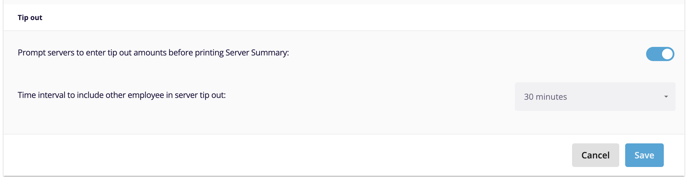
- Click on Advanced and scroll to Tip out
- Ensure that Prompt servers to enter tip out amounts before printing Server Summary is enabled
- Select an appropriate Time interval to include other employees in server tip out time from the drop down (we recommend 30 minutes or 1 hour)
- Click Save
Tip pooling
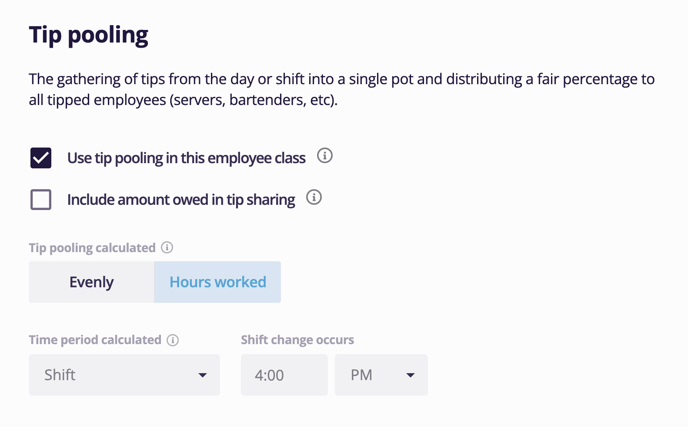
Tip pooling is designed so that members of the same employee class can combine, or pool, their tips and split them according to rules you establish. Common examples include baristas and bar tenders.
- Open the employee class that you want to pool tips.
- Click Tip pooling.
- Check the box next to Use tip pooling in this employee class.
- Optional: Check the box next to Include amount owed in tip-sharing to add the tips the employee should contribute to their ‘Server owes House’ calculation.
- Decide if you want the tips to be split Evenly between everyone in the class that was clocked in, or Hours worked if you want tips to be split based on the number of hours worked by each employee.
- Decide the tip pool time period.
-
- Shift: splits your day into two shifts. Everyone clocked in prior to the Shift change occurs time will be the first shift and split their tips. Everyone clocked in after that time will be the second shift and split their tips. Set the Shift change occurs time in order to complete this selection.
-
- Daily: calculates the pool based on tips earned for the entire day.
-
- Weekly: calculates the pool based on tips earned for the entire week. Select the day your Work week starts on to complete this selection.
- Click Save.
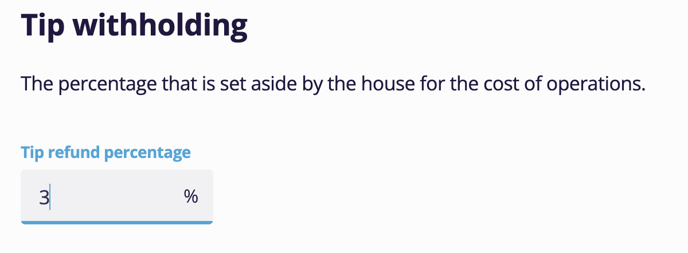
Tip withholding
This feature calculates how much of the employee’s credit card tips you should withhold to cover the cost of processing the tips*.
- Open the employee class that you want to withhold tips from.
- Click Tip withholding.
- Enter the percentage of the tips that should be withheld in the Tip refund percentage box.
- Click Save.
*Important Note: Before activating the Tip Withholding feature, Lavu encourages you to seek legal and/or accounting advice to ensure tip withholding is legal in your area/region.
Overtime Settings
These settings determine when overtime and/or double-time is paid at your restaurant.
Note: Make sure to consult with a payroll specialist before making decisions around these settings.
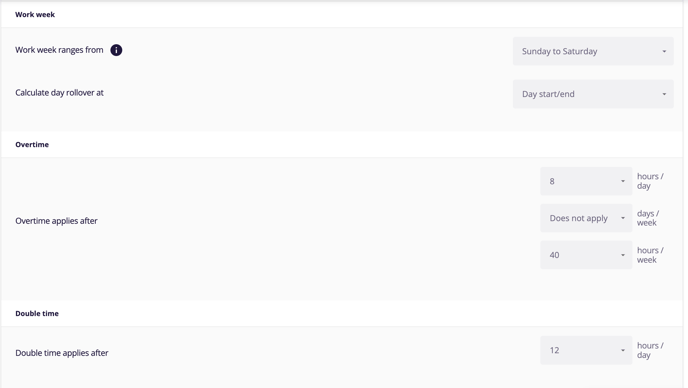
- Work week ranges from determines the start and end of your payroll week.
- Calculate Day Rollover at determines the start and end time for your day of work. This can be set to your Day Start/End Time in Advanced Location Settings, or Midnight.
- Overtime can be set to kick in at hours per day, days per week, hours per week, or a combination thereof.
- Double Time only applies to hours per day.
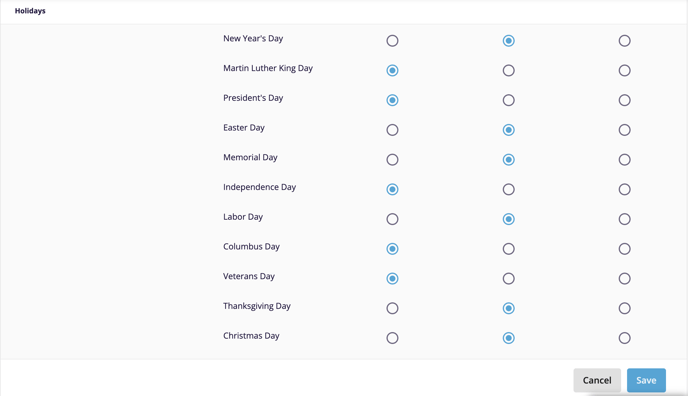
- Holidays can be toggled to Regular Pay, Overtime, or Double Time (currently only U.S. holidays are listed).
- Click Save when you are done.
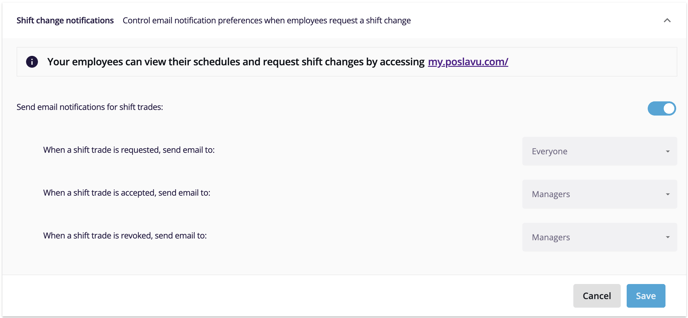
Shift Change Notifications
If you use Lavu's scheduling platform, one way employees can view their schedule is through the website my.poslavu.com (employees will need their username and password to login). Another feature this site has gives your employees the ability to request shift coverages. The settings here controls who receives those emails.
Email addresses are set for your employees and managers in the Manage Users page, also located within Workforce.
- Adjust the settings to how your restaurant operates
- Send email notifications determines whether or not an email is set
- Managers are levels 2-3 (2-4 if you have a chained account)
- Click Save when you are done
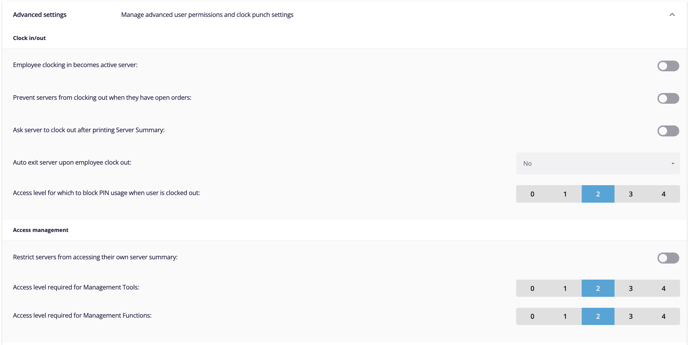
Advanced Settings
These settings are designed to keep your restaurant running securely. They provide you with the ability to lock down specific actions and to require manager permission.
- Employee clocking in becomes active server – this setting means that if an employee clocks in, they will also be signed in to start using the POS. This setting will have no affect on level 0 employees.
- Prevent servers from clocking out when they have open orders – this setting will help ensure that servers close out their orders and keep your reports free from discrepancies caused by no payments on open orders.
- Ask server to clock out after printing Server Summary – this is a helpful reminder to ensure that nobody misses a clock out.
- Auto exit server upon employee clock out – this setting will automatically log an employee out of the POS application after they clock out for their shift. This will ensure other employees don't start orders under a clocked out employee's name.
- Access level for which to block PIN usage – this setting will prevent a clocked out employee from using their PIN to sign into the app, approve of discounts and/or refunds, open the cash drawer, and more.
- Restrict servers from accessing their own server summary – prevents servers from accessing their own server summary from Server Functions. Managers can still access server summaries from Manager Functions.
- Access level required for Management Tools – this setting controls who is able to access the Management Tools page, which includes features like Cash Reconciliation, Time Punches, and more.
- Access level required for Management Functions – this setting controls who is able to access the Manager Functions within the POS. This includes features like printing server summaries for other employees, accessing the X & Z report, and more.
Employee Breaks
These settings are designed to keep track of employees' paid breaks.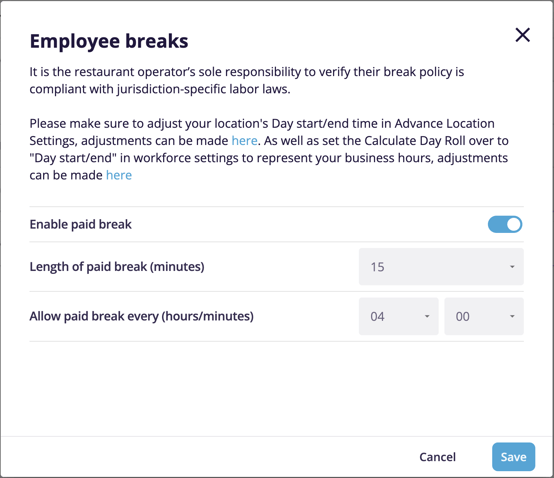
Please refer to your local labor laws to understand how this feature should be used.
For example, if you are required to provide a 15 minute paid break for every 4 hours of work simply set the following settings:
- Set Length of Paid Break to 15 minutes using the dropdown.
- Set Allow paid breaks every (hours/minutes) to 4 hours by using the first dropdown.