Taking a deposit on an item in your menu allows your customer to pay a portion of the total price, while still being able to close the order.
The percentage paid can be selected on the checkout screen after a Take Deposit has been selected on the checkout screen.
This differs from the deposits done in Register Functions, where money is taken from the customer completely separate from any orders. To learn more about Deposits in Register Functions, click here.
Enabling Item Deposits
Before you can take a deposit on an item, you must first enable the setting on that item in the Control Panel.
Find the item you want to take deposits on, and click on the green button labeled Details.
![]()
Scroll down to Allow Deposits and select Yes from the dropdown menu.
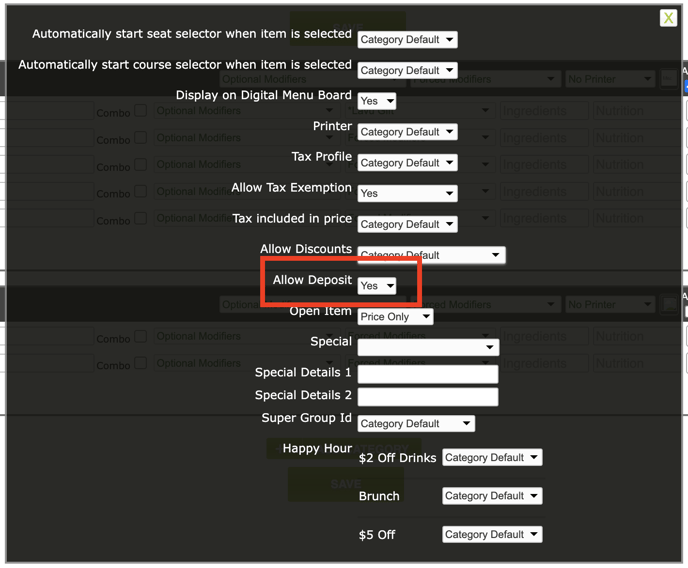
Now your item is ready to take a deposit.
Taking a Deposit on the POS
With your deposit item ready, simply ring the item up on the POS, and navigate to the checkout screen. At the bottom of the screen you will notice two buttons surrounding the order's total called Pay in full and Take Deposit.
Simply tap on Take Deposit and select the portion your customer will pay.


It should be noted that while your order will close like a normal order, in reports, this order will be marked as Underpaid. This is to draw your attention to it later so you know your customer still has an amount due on their order.

For further support, please contact our 24/7 customer support team at 505-535-5288 or email support@lavu.com.